Ready to bring your old wood furniture back to life? Start by picking a well-lit, ventilated spot—don’t forget your gloves and goggles! Strip the old finish with a safe chemical, and then sand the surface, moving with the grain. Apply your chosen stain or paint for that fresh look. Seal it all up to protect your masterpiece. Excited for the transformation? Stick around to discover pro tips for keeping your workspace clean and organized!
Key Takeaways
- Choose a well-ventilated workspace with adequate lighting and protective covering to prevent spills and damage.
- Remove old finishes using chemical strippers or manual scraping, always working along the wood grain.
- Sand the wood surface progressively with coarse, medium, and fine grit sandpaper to ensure a smooth finish.
- Apply stain or paint evenly with the grain, wiping off excess immediately for desired color intensity.
- Seal and protect the furniture with the appropriate sealant, applying thin coats and allowing each to dry completely.
Choose and Prepare the Work Area
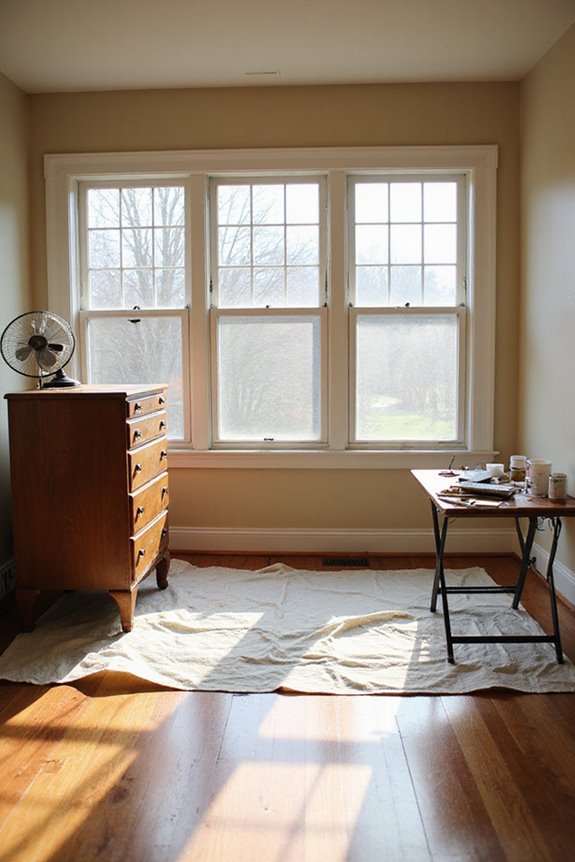
When you’re ready to tackle refinishing your wood furniture, the first step is choosing and preparing the work area—sounds simple, right? But it’s super important! First, pick a well-ventilated space, preferably outdoors, to keep those pesky fumes at bay. Can you imagine working inside with all those chemical smells? Yuck!
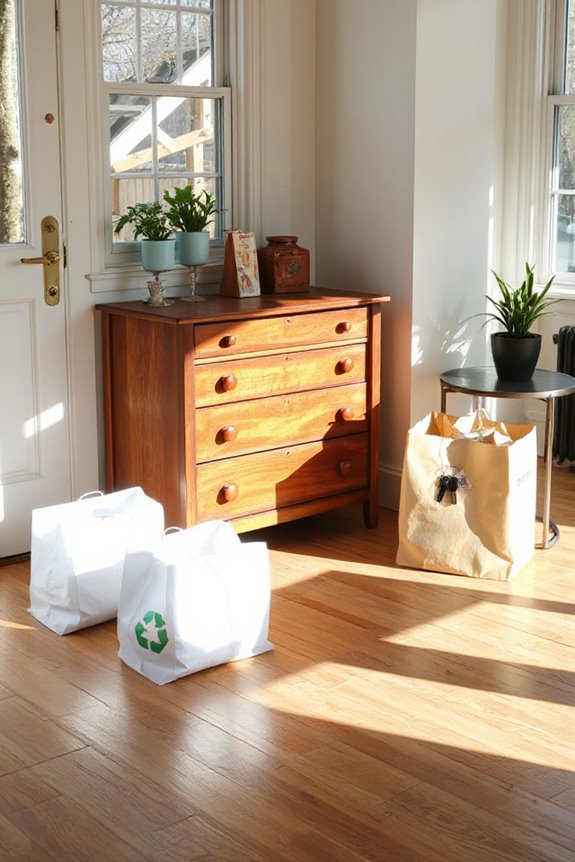
Next, verify you have enough light to see every scratch and dent. You’ll want to use drop cloths to catch any spills, too! And don’t forget your safety equipment—gloves and goggles are a must when dealing with paint or strippers. Additionally, ensuring your workspace is organized can help prevent any accidental damage to items like woven laundry baskets, which often require gentle handling. Are you feeling prepared now? With an organized setup, you’ll smooth through this process like a pro and have your furniture looking fabulous in no time!
Remove Old Finish
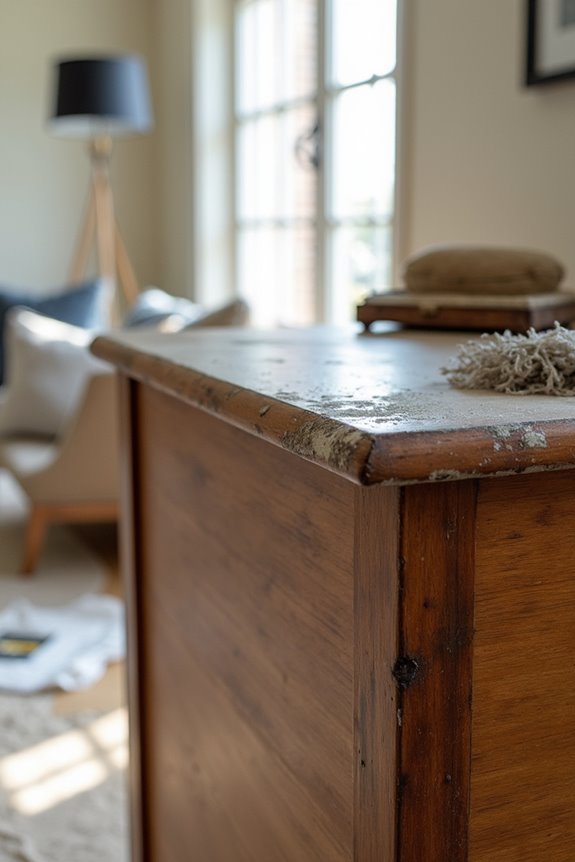
Before diving into the exciting world of refinishing, you might wonder how to best remove that old finish from your wood furniture—isn’t it just a bit intimidating? Don’t worry! You have options. Chemical stripping with safe products like Citristrip can make this process smoother and less messy. Just remember to wear gloves and goggles for safety!
Alternatively, manual scraping is another effective method. Grab a furniture scraper or some steel wool, and gently work along the wood grain. This helps avoid damage while getting rid of that stubborn finish. Make sure you’re working in a well-ventilated space, too. Many people find that using durable natural materials can enhance the overall look of their refinished furniture. Ready to reveal that beautiful wood underneath? Let’s get stripping!
Sand the Wood Surface
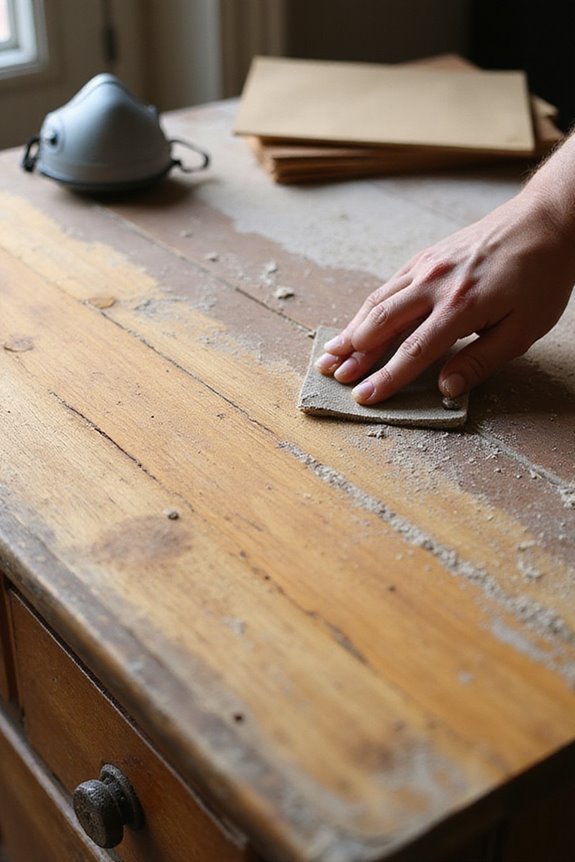
Ready to release the true beauty of your furniture? It’s time to sand the wood surface! Start with coarse grit sandpaper, around 80 to 100, to tackle that old finish. Remember, sanding techniques matter! Use long strokes along the grain for smoothness—no scratches allowed!
Next, move to medium grit (120-150) to smooth things out before finishing with fine grit (220-240) for a polished touch. Don’t forget to inspect your work! Are there any imperfections left? If so, re-sand those spots as needed. You’ll want your piece to sing! And hey, always wipe away the dust as you go. Choosing the right weather-resistant materials can also enhance your furniture’s longevity.
Are you ready for a stunning transformation? Sanding is your secret weapon!
Apply Stain or Paint
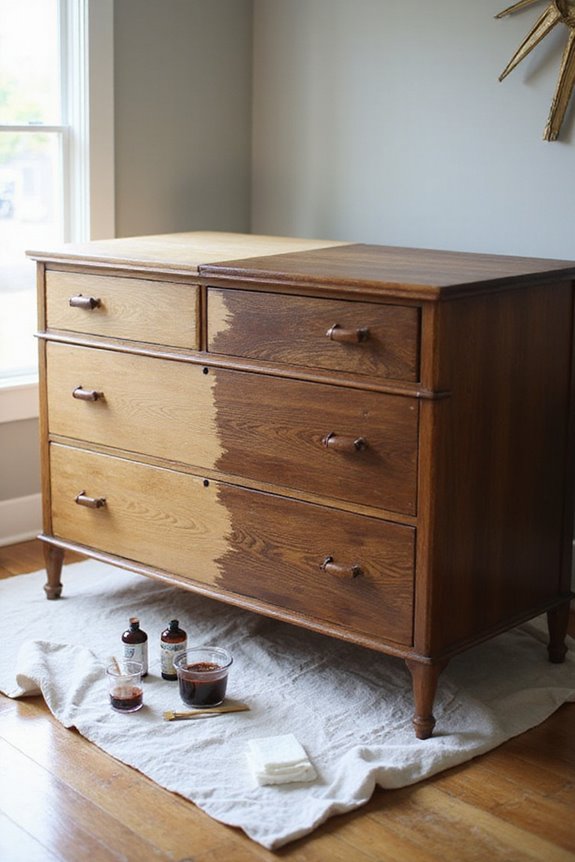
Applying stain or paint can be one of the most exciting parts of refinishing your wood furniture! Are you ready to transform that piece? First, stir your stain well for an even color. Remember, stain advantages include highlighting the wood grain beautifully, while paint disadvantages hide those unique patterns. Use a cloth or microfiber pad for better control as you apply stain with the grain direction—this guarantees smooth coverage. Wipe off any excess immediately; no one likes blotchy surprises! Drying times vary, so check the label. If you’re feeling adventurous, think about gel stains for vertical surfaces. What will you choose: the natural beauty of stain or the bold option of paint? Your furniture awaits!
Seal and Protect
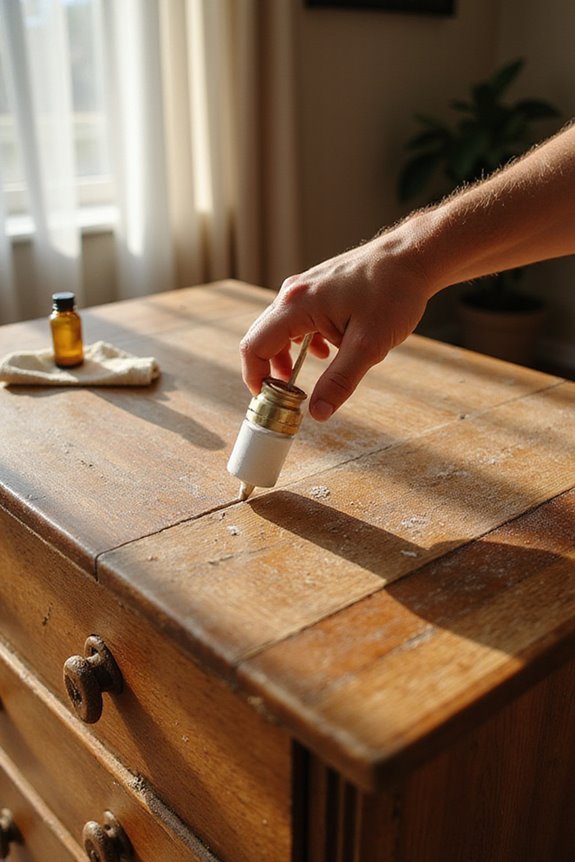
Once you’ve given your wood furniture a fresh coat of stain or paint, it’s time to seal and protect that beauty! You’ll want to choose the right sealant types—polyurethane is great for dark woods, while polycrylic’s perfect for lighter ones. First, clean the surface and sand it lightly; this helps the sealant stick better. Have you heard about different application techniques? You could brush it on for small pieces or use a sprayer for larger ones. Always go with the wood grain to avoid streaks. Remember, thin coats are key! Let each layer dry completely before adding another. This guarantees maximum protection for your masterpiece. Ready to make it shine? Let’s seal that wood!
Finish and Reassemble
Let’s plunge into the finishing touches and reassembly of your wood furniture! First, pick your finish types—polyurethane for durability, or maybe varnish if you want a glossy look. Use a foam brush to apply it evenly, remember to check for runs afterward!
After that, it’s time for hardware inspection. Gather all the pieces you removed earlier. Got any rusty screws? Clean or replace them! Verify everything fits nicely. Once reattached, test those drawers and doors. Do they slide smoothly?
Don’t forget the final inspection! A good look-over helps find any imperfections that need correcting. With patience and care, your furniture will look brand new and function beautifully. Ready to enjoy your masterpiece? Let’s go!
Clean and Maintain the Workspace
Before diving into your refinishing project, you’ll want to make sure your workspace is prepped and ready to go! A clean and organized workspace is key for success. Gather your cleaning supplies—think dish soap, sponges, and rags. You’ll need them to tackle any mess and keep your furniture looking fresh!
Have you thought about ventilation? It’s essential to avoid those pesky fumes from your chemicals. If possible, set up outdoors under a cover to dodge weather surprises! And don’t forget to lay down drop cloths to protect your surfaces. Keeping your tools organized helps save time and frustration, right? By maintaining a clean workspace, you’ll be focused and efficient—let’s get that furniture looking fabulous!
Frequently Asked Questions
Can I Refinish Furniture With Veneer?
Refinishing furniture with veneer’s like painting a delicate canvas; you’ve got to be careful! Use proper veneer care techniques and gentle refinishing methods to preserve its beauty while achieving a fresh, vibrant finish.
How Do I Dispose of Chemical Strippers?
To dispose of chemical strippers, follow local regulations for chemical disposal. Consider eco-friendly alternatives and guarantee proper containment. Always neutralize any leftover chemicals and separate hazardous waste from regular trash for safe disposal.
What’S the Best Type of Wood for Refinishing?
Did you know hardwood types like cherry and walnut are often more durable compared to softer options like pine? For refinishing, it’s best to choose based on durability, grain patterns, and your desired finish.
How Long Does the Refinishing Process Take?
The refinishing timeline varies greatly. It depends on process factors like cleaning, stripping, and applying the finish. Overall, you’re looking at anywhere from a few hours to several days, sometimes longer for complete curing.
Can I Use Regular Paint Instead of Wood Stain?
Yes, you can use regular paint instead of wood stain. Using paint offers a durable layer with various paint finishes, but it’ll conceal your wood’s natural grain, which you might want to take into account.