Want to give your furniture a makeover? Start by cleaning and lightly sanding it to guarantee good paint adhesion. Next, pick the right paint—chalk or acrylic works great! Apply a primer first, then layer on the paint in thin, even coats. Don’t forget to let each coat dry! Feeling adventurous? You can try stenciling or dry brushing for cool effects. Ready to turn that old piece into a showstopper? There’s more to discover!
Key Takeaways
- Remove hardware and clean surfaces thoroughly to ensure proper paint adhesion.
- Choose a suitable furniture paint and test on a small area for desired results.
- Apply a primer before painting to enhance adhesion and coverage, followed by thin coats of paint.
- Use proper painting techniques like dry brushing and sanding between coats for a smooth finish.
- Maintain painted furniture by dusting regularly and applying wax or sealants every 6-12 months.
Preparing Your Furniture for Painting
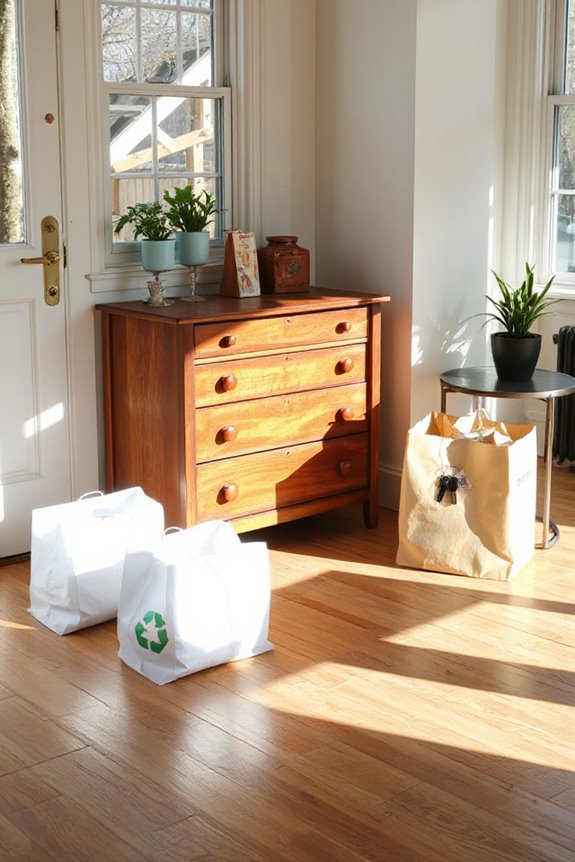
When you’re gearing up to paint your furniture, the first thing you should do is get it ready! Start by removing all knobs and handles, and don’t forget to bag and label them. Got drawers? Take them out and inspect the hinges while you’re at it! Cleanliness is key; vacuum away any dust and use a gentle cleaner on all surfaces. Ever noticed cracks or dents? Now’s the time to inspect and repair those. Sanding is essential too—lightly scuff to promote paint adhesion. Remember, preparation importance can’t be overstated! It’s like setting a solid foundation for your masterpiece. Many modern display cabinets use tempered glass for enhanced safety and visibility, so be sure to consider materials that can withstand wear. Ready to transform those furniture materials? You’re on the right track!
Choosing the Right Paint and Tools
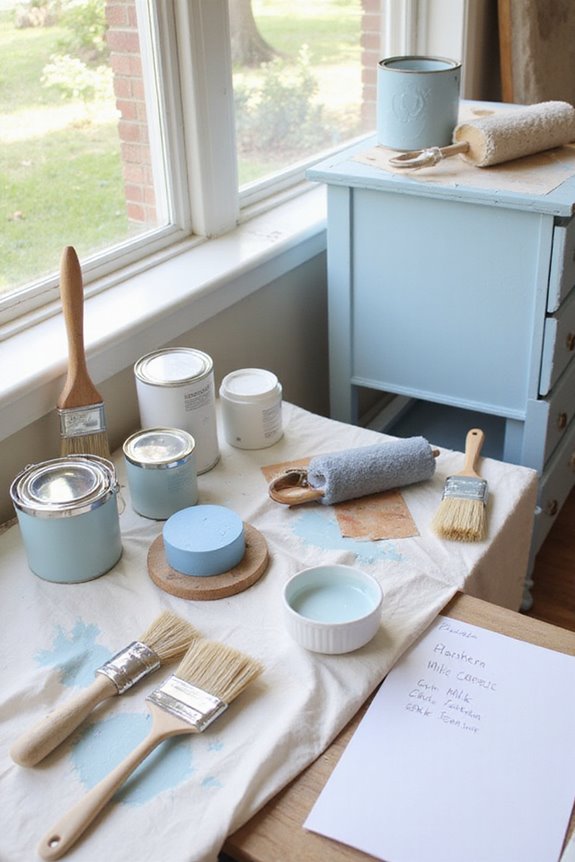
You’ve prepped your furniture like a pro, and now it’s time to think about your paint and tools! What paint types do you want to use? If you’re after durability, consider acrylic or alkyd paint. Want a vintage vibe? Chalk or milk paint’s your best friend!
Now, let’s talk tool selection. A good paintbrush will be essential for detailed work, while rollers cover large areas quickly. Have you considered a paint sprayer? It can give you a smooth, even finish on those intricate pieces.
Don’t forget drop cloths to protect your floors! Choosing the right paint and tools sets the stage for a successful project—just imagine the transformation waiting to happen! Additionally, look for eco-friendly materials that promote sustainable practices to enhance your project. Excited yet? Let’s get painting!
Essential Painting Techniques
To make your furniture painting experience a success, mastering essential techniques is key! Start with texture techniques like dry brushing to emphasize those gorgeous carved details. Can you imagine how that’ll add depth? Next up, layering methods can create a stunning dimensional look, making your piece pop!
Don’t forget to prime; it guarantees a strong bond with the paint and covers unsightly stains. Plus, sanding between coats smooths out any rough patches—who doesn’t want a flawless finish? Choosing the right brush is vital too! Synthetic brushes work wonders for smooth paint, while natural fibers bring out texture. Additionally, using quality materials like washed microfiber can enhance the durability of your painted furniture. So, are you ready to elevate your furniture from drab to fab? Get excited—your transformation journey is just beginning!
Step-by-Step Application Process

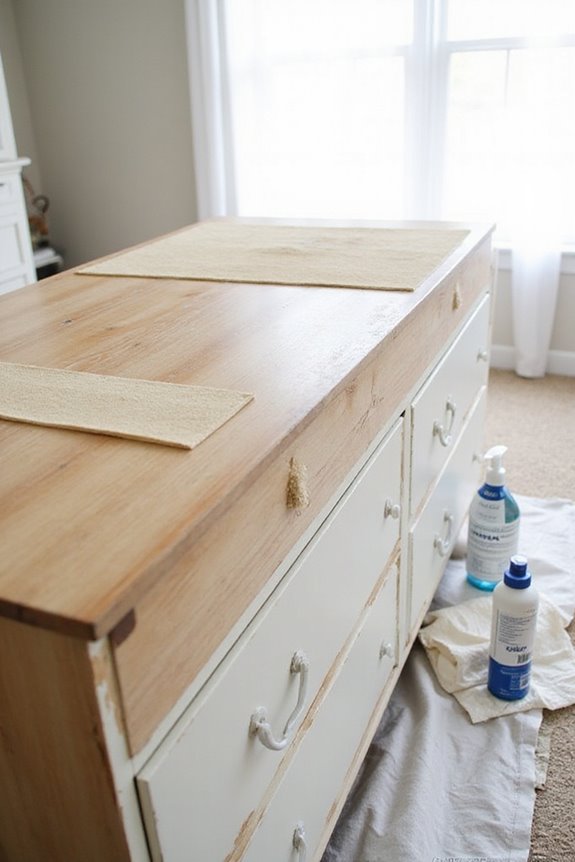
After you’ve mastered those essential techniques, it’s time to put them into action! First, remove all hardware from your furniture—trust me, you don’t want to paint over knobs! Clean the surfaces with soap and water, then dry them completely. Next, it’s sanding time! Use your sanding techniques with 180–220-grit sandpaper, and sand in the direction of the grain. Got those pesky bumps? Focus on them!
Once you’re smooth, it’s time for primer application. Grab a good-quality primer and a brush; cover all surfaces thoroughly. Don’t forget to let it dry completely! A quick light sand afterward will make your paint stick like glue. See? You’re already making progress! Excited yet? Keep going!
Adding Finishing Touches
While you might be tempted to call it a day after painting, adding those finishing touches can really elevate your furniture makeover! Have you thought about light sanding to smooth out imperfections? It’s a game changer! A post painting inspection can reveal areas that need a little extra love.
Consider using a wax or polyurethane for that protective layer; it’s like giving your furniture a cozy blanket! Plus, swapping out hardware can be the cherry on top—new knobs or handles can tie everything together. Don’t forget about color matching any extra decor to your fresh paint job. It’s all in the details! So, are you ready to take your project to the next level? Happy finishing!
Maintenance and Care for Painted Furniture
Taking care of your painted furniture can feel like a chore, but it doesn’t have to be! Want to keep it looking fresh and fabulous? Start by dusting regularly and using a damp microfiber cloth for those sticky spots—no harsh chemicals, please! This simple routine boosts your furniture’s longevity.
Every 6-12 months, reapply furniture wax or natural hemp oil to keep that shine and protection. Did you know that avoiding excessive moisture and keeping your furniture away from direct heat can prevent damage too?
Also, don’t forget to inspect for wear! Addressing cracks ASAP will save you trouble later. With a little love and some protective coatings, your painted pieces will shine for years to come!✨
Selecting the Perfect Color Scheme
Have you ever wondered how the right color can transform your furniture and tie your whole room together? Choosing color combinations can make a huge difference! Neutral colors like creams, beiges, and grays are timeless winners. They adapt to different styles, making them perfect for resale too.
But don’t shy away from classic combinations! Deep blues or rustic reds can warm up a space beautifully. Ever thought about the psychological effects of color? For instance, calming blues can create a serene vibe, while vibrant tones can turn furniture into statement pieces. So, what colors resonate with you? Remember, color should reflect your personal style, enhancing your space without overwhelming it! It’s all about balance and harmony!
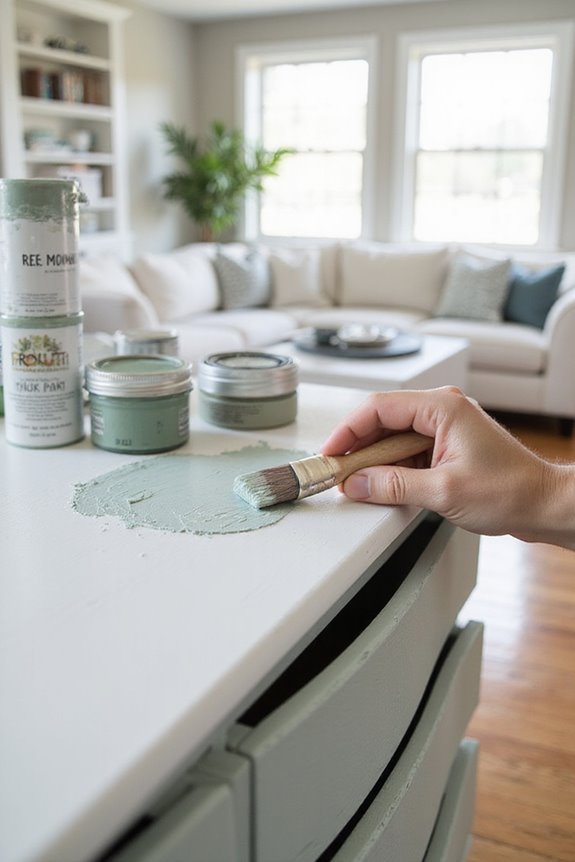
Creative Painting Techniques to Try
When it comes to painting furniture, there are some creative techniques that can really elevate your project! Have you tried the dry brushing technique? It gives your furniture a vintage vibe with minimal effort! Just use a dry brush to catch those raised areas, and voila—texture and depth effortlessly added!
Another fun option is the raised stencil technique. By applying thick paint through a stencil, you can create a stunning, carved appearance!
Feeling adventurous? The paint pouring technique creates vibrant, abstract designs that are totally eye-catching! Combine these ideas for endless creative inspiration. Just remember to practice the technique variations well, and you’ll have a masterpiece in no time! Ready to transform that old piece into something special?
Common Mistakes to Avoid
While diving into the world of painting furniture, it’s easy to overlook some common mistakes that can turn your masterpiece into a mess. First off, don’t skip surface preparation! Insufficient sanding or cleaning can ruin paint adhesion, making your effort go to waste. Are you ready to remove old wax, dirt, or varnish?
Also, remember to choose the right primer. Using the wrong one can make paint bleed, especially on glossy surfaces. Ever painted a damp piece? That’s a recipe for peeling!
Finally, don’t forget about small details. They might seem minor, but neglecting edges and handles can leave your project looking unfinished. So, are you set for a flawless finish? Let’s get painting! 🎨
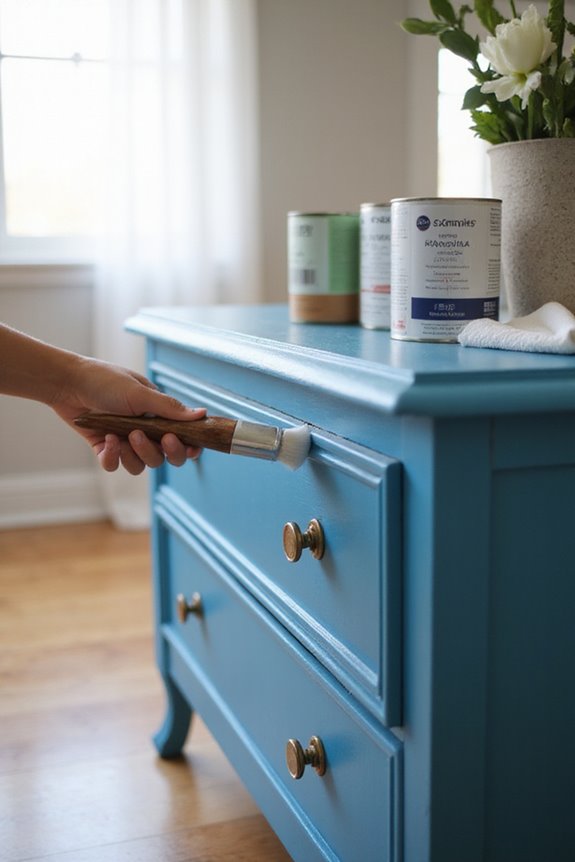
Reviving Old Furniture With Paint
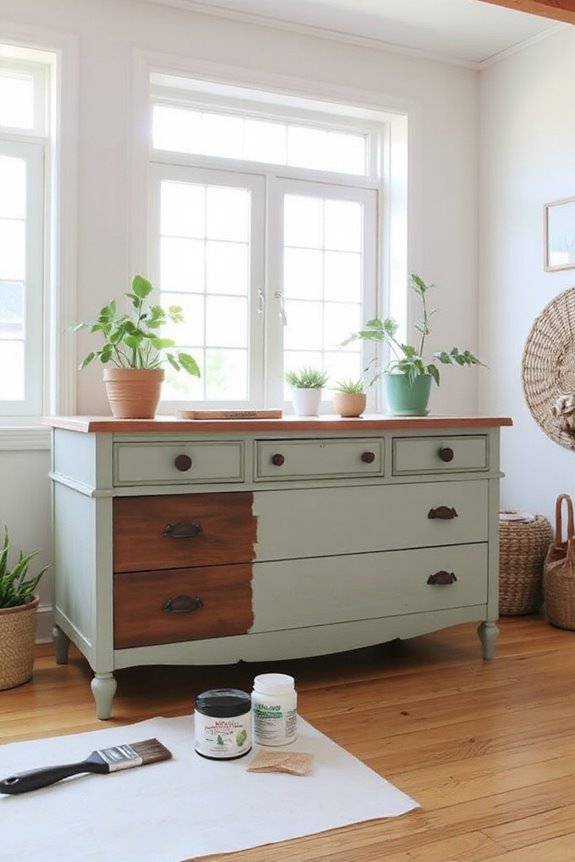
Getting ready to paint old furniture can breathe new life into those tired pieces you’ve been overlooking! Start by cleaning and lightly sanding the surface—trust me, it makes a big difference. Ever thought about adding some cool paint effects? Choosing the right paint is essential! Opt for a high-quality latex or chalk paint in colors that’ll wow you. How about a matte finish for that chic look?
Now, here’s where the magic happens: try dry brushing for texture or stenciling for detailed flair. Your furniture transformation awaits! Don’t forget to seal it afterward—your hard work deserves protection. So, are you ready to jump in? Your old furniture will thank you once it’s transformed into something spectacular!
Frequently Asked Questions
Can I Paint Over Stained Furniture Without Sanding?
Yes, you can paint over stained furniture without sanding. Just use a stain-blocking primer to improve paint adhesion, ensuring a smooth finish. Proper preparation and application will help achieve great results without the hassle of sanding.
How Long Does Painted Furniture Take to Cure Completely?
Painted furniture’s curing process varies by paint types; water-based paints typically cure in 14–30 days, while oil-based paints take 3–7 days. Always check manufacturer guidelines for the best results and timing.
Is It Safe to Use Painted Furniture Outdoors?
It’s safe to use painted furniture outdoors if you choose outdoor-specific paints with weather resistance and good outdoor durability. These paints help guarantee your furniture withstands the elements and maintains its appearance over time.
What Are the Best Brushes for Furniture Painting?
Finding the *perfect* brush for furniture painting can feel like searching for a needle in a haystack. You’ll love synthetic brushes for water-based paints and natural bristles for achieving a flawless oil finish.
Can I Mix Different Paint Brands Together?
You can mix different paint brands, but you should be cautious about paint brand compatibility. Use recommended mixing techniques and always test on a small surface first to avoid issues with adhesion and finish.