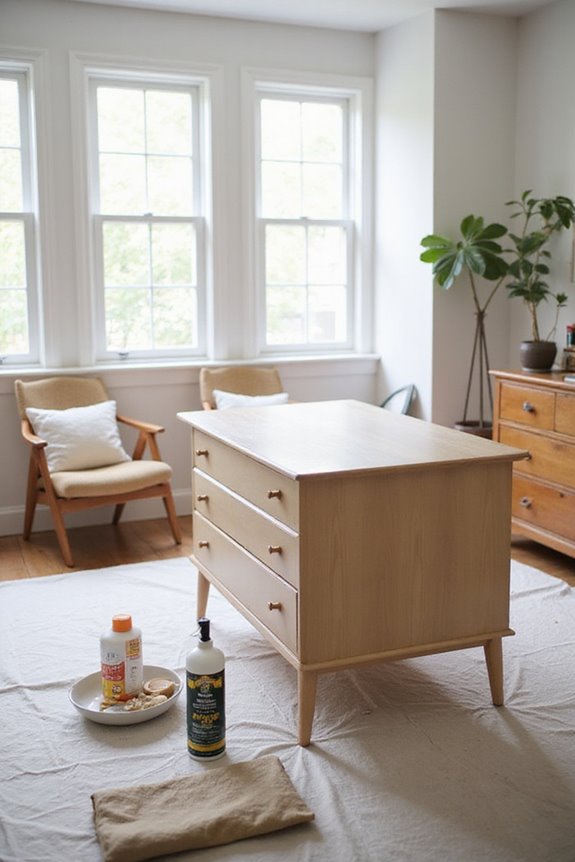
Ready to transform your laminate furniture? Start by cleaning it well with a damp cloth and a degreaser! Lightly sand the surface to help the primer stick. Next, grab a bonding primer that’s great for slick surfaces, like INSL-X STIX, and apply it using a foam roller. Once it’s dry, choose a fun paint—latex or chalk paint works wonders. Don’t forget a topcoat for protection! Excited to see how it all comes together? There’s more to explore!
Key Takeaways
- Clean the laminate surface thoroughly with a degreaser and damp cloth, then lightly sand for better primer adherence.
- Apply a suitable primer, such as shellac-based or bonding primers, using a foam roller for even coverage.
- Choose high-quality paint, such as latex or chalk paint, in colors and finishes that complement your desired look.
- Use thin, even layers of paint, allowing adequate drying time between coats, and let the furniture cure for 24-48 hours.
- Inspect the finished surface for imperfections and consider applying a clear topcoat for added durability.
Understanding Laminate Surfaces
When you think about laminate surfaces, imagine a superhero of furniture! They’re made up of layers fused together under high heat and pressure. The magic comes from a core of materials like particleboard or MDF, topped with printed décor paper and a protective overlay. It’s not just pretty; laminate durability is impressive!
You can rest easy knowing these surfaces resist scratches and stains, making them perfect for busy homes. Plus, did you know high-pressure laminate (HPL) is great for high-impact areas? It’s tough! So, whether you’re sprucing up a kitchen countertop or your favorite bookshelf, laminate composition guarantees it looks good and lasts. Modern storage beds can also benefit from laminate surfaces, providing stylish durability in your bedroom. Excited to plunge into your next painting project? Let’s get started!
Essential Preparation Steps
Before diving into your painting adventure, it’s crucial to prep your laminate furniture properly! First, gather your supplies—fine grit sandpaper, a degreaser, and safety gear like a respirator and gloves. Ready for a little surface cleaning? Wipe down your piece with a damp cloth, then scrub with that degreaser to zap away grease. Once it’s clean, you’ll need to tackle sanding techniques; lightly sand for better primer adherence. Don’t forget to check your workspace setup! Verify it’s well-ventilated and that humidity control is spot on. Finally, remove all dust with vacuuming or a damp cloth—this makes a world of difference in paint protection! Additionally, ensuring you have quality materials can greatly enhance the durability of your finished project. Got your ducks in a row? Let’s get painting!
Choosing the Right Primer
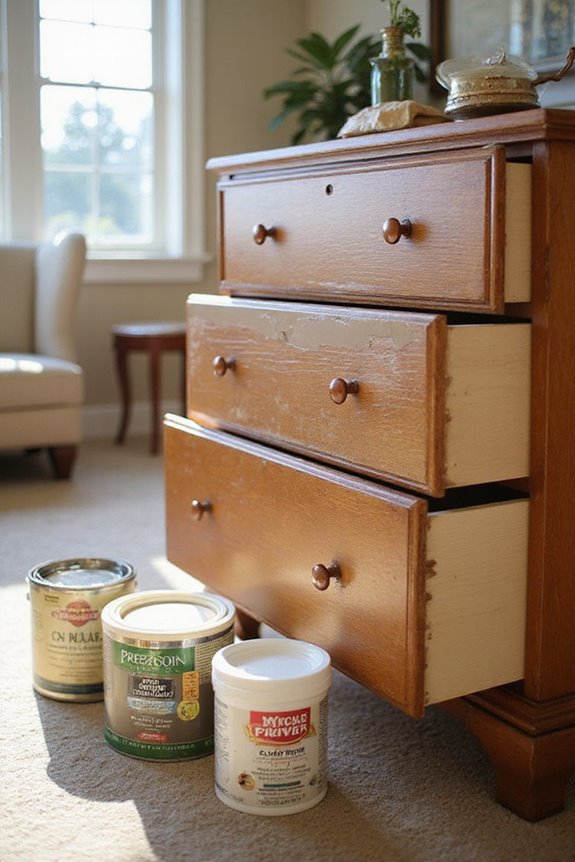
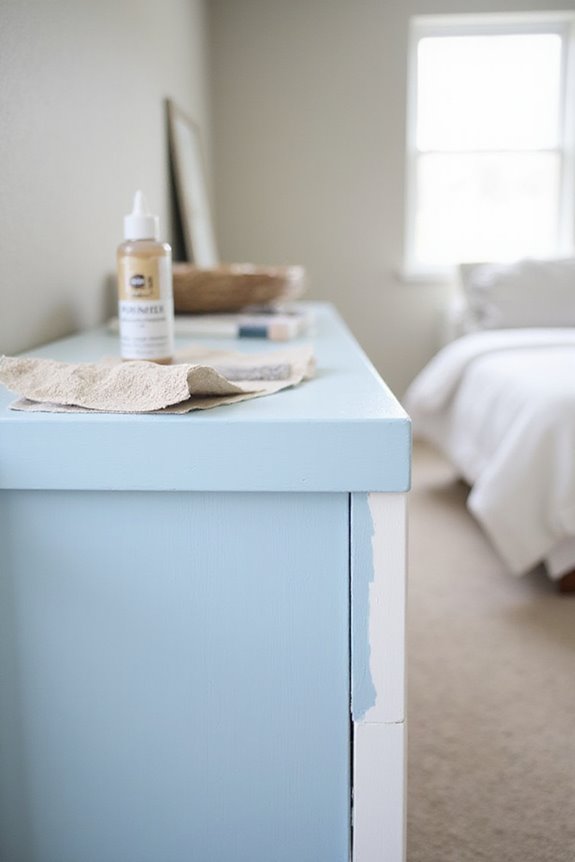
Choosing the right primer can make all the difference in your painting project! You might wonder, what primer types should I consider? For laminate furniture, shellac-based primers like BIN are excellent for adhesion properties on slick surfaces. Ever tried a bonding primer like INSL-X STIX? It’s a powerhouse for shiny laminates!
If you’re looking for ease, water-based options are often the go-to. They clean up easily and have less odor. Plus, if you’re aiming for a distressed look, clear primers let that beautiful laminate shine through! So, think about your project’s needs—want quick drying or low odor? Choosing the right primer sets the stage for a fabulous finish. High-quality materials can also enhance the durability of your painted furniture. Isn’t that exciting?
Proper Primer Application Techniques
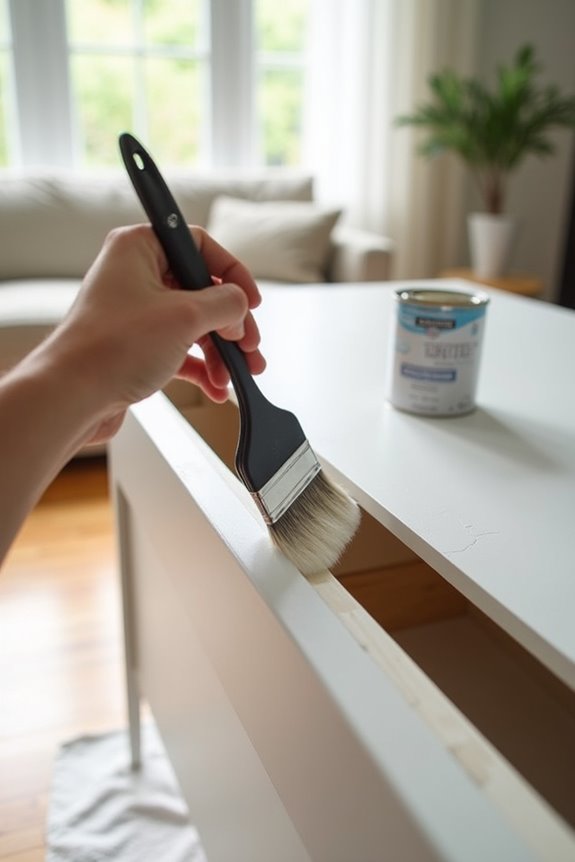
Ready to roll up your sleeves and get to work? First, clean that laminate surface! Dust and debris don’t stand a chance against your tack cloth. Next, grab a foam roller to spread that shellac-based primer evenly without the dreaded tacky drying issue from sprayers. Did you know one quart can cover several bookshelf panels? After you apply the primer, wait for it to dry—typically fast! But don’t rush; let it cure overnight if you can. Want the best adhesion? Lightly sand after primer drying to create an even texture. So, are you excited about painting your laminate furniture? You’re already on the right track! Let’s keep going!
Selecting Paint for Laminate Furniture
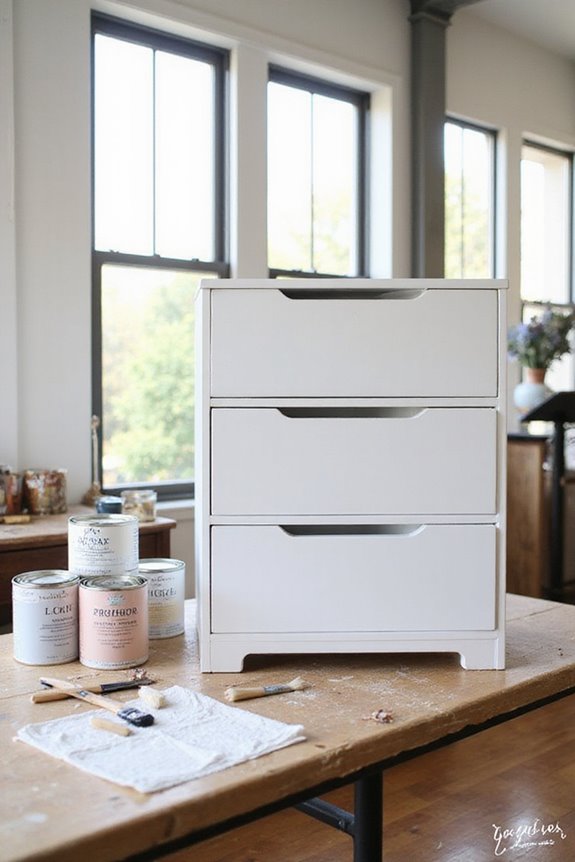
Selecting the right paint can feel like searching for a needle in a haystack, especially if you’re looking to transform your laminate furniture! First off, think about your color selection. Do you want something bold and bright, or are neutral tones more your style? Then, consider the paint finish. Satin or glossy finishes work wonders for enhancing the beauty of laminate.
Latex and chalk paints are great options for easy application, but if durability’s your priority, you might want to check out enamel or high-quality brands like Benjamin Moore or Rustoleum. They offer quick-drying options, so you won’t be waiting forever! Have you decided on your paint yet? Let’s get those creative juices flowing!
Effective Painting Process
When it comes to painting laminate furniture, following a few key steps can make all the difference! First, you’ve got to select the perfect color that matches your home style. Exciting, right? Now, once you’ve picked your color, let’s get to the fun part—paint application! Begin by thoroughly cleaning your furniture with a strong degreaser. Don’t skip this step! Sand the surface lightly for better primer adhesion. It’s essential; no one likes peeling paint! After priming (with at least two coats), apply one or two coats of your chosen paint, allowing enough drying time between layers. Which brushes will you use? Quality foam rollers or angled brushes help minimize those pesky brush strokes. Ready, set, paint!
Importance of Topcoat Protection
Topcoats can really be a game changer for your painted laminate furniture! They offer topcoat advantages like enhanced durability and stain resistance, keeping those scratches at bay. Who doesn’t want their furniture to look fresh and vibrant for years?
With various topcoat types available, like polyurethane and water-based options, you can choose what suits your needs best. Each has its perks; for example, water-based ones are eco-friendly, while oil-based gives that extra durable finish.
You’ll also love how they make cleaning a breeze, thanks to a smooth, wipe-clean surface. Plus, a glossy topcoat can really make those colors pop! So, don’t skip this essential step—your furniture will thank you later!
Final Touches and Inspections
Now that your topcoat is in place and your laminate furniture is looking fabulous, it’s time to add those final touches that really make your piece stand out! Have you thought about swapping out the hardware? Fresh knobs or handles can enhance the final aesthetics beautifully. For a touch of charm, consider lining drawers with fun peel-and-stick paper.
Don’t forget to inspect for any uneven paint or missed spots—details matter! Sealing all edges is super important for durability enhancements. Applying a protective polyurethane coat can help too! It keeps your furniture looking fresh longer. So, are you ready to transform your piece into a stunning focal point? Let’s make your furniture shine!
Safety Considerations During the Process
Before you plunge into painting your laminate furniture, let’s talk safety—because who wants a stylish project marred by accidents, right? First things first, do a quick risk assessment. Verify your workspace is well-ventilated to avoid inhaling those pesky fumes. You wouldn’t want to get a headache during your masterpiece!
Now, don’t forget your personal protective gear. Gloves, safety glasses, and a mask are must-haves to keep your skin and eyes safe. Clear your area of any flammable materials and be super cautious around electrical tools, especially if they’re exposed to wet surfaces.
Finally, remember that any cleaning agents should be mild, and keep all chemicals out of reach of curious kids or pets. Let’s keep it safe and enjoy the painting process!
Tips for Successful Laminate Painting
Ready to tackle those laminate furniture pieces? First, prepare by sanding with 150 grit paper—this really helps the paint stick! After that, wipe the surface clean with a damp cloth; nobody likes patchy paint, right? Next, pick a highly-adherent oil-based or shellac-based primer. You’ll want to apply at least two coats. Oh, and don’t forget to sand lightly between coats!
When it’s time to paint, consider using acrylic or waterborne alkyd paint for a lasting finish. Remember the technique variations—thin, even layers prevent drips. Apply spray paint for tricky spots, but shake it well first! Finally, let your masterpiece cure for 24-48 hours. Isn’t that exciting?
Frequently Asked Questions
Can I Paint Laminate Furniture Without Sanding It?
Absolutely, you can paint laminate furniture without sanding it! Just employ effective laminate preparation techniques and robust paint adhesion methods to guarantee your masterpiece sticks like glue. With the right approach, success is just a brushstroke away.
How Long Does the Entire Painting Process Take?
The entire painting timeline can take 2-4 days, factoring in drying times between coats. Prepare for cleaning, sanding, and multiple paint coats to achieve a smooth finish, so patience is key.
Is It Necessary to Use a Topcoat?
Imagine your favorite retro chair, vibrant but faded. You’d want a topcoat for its benefits—protection and easy cleaning. Although alternatives exist, nothing preserves your piece like a solid topcoat; it’s worth it in the end.
Can I Use Regular Spray Paint on Laminate?
You can’t use regular spray paint on laminate surfaces without proper preparation. It’s crucial to use the right spray paint types, like oil-based or specially formulated primers, for better adhesion and durability on glossy laminate surfaces.
What if My Paint Starts to Peel?
If your paint starts to peel, consider using peeling solutions like sanding or priming for better paint adhesion. Addressing issues promptly helps prevent further damage and guarantees a longer-lasting finish on your project.